-This post may contain affiliate links. If you click on one and make a purchase, I may earn a small commission at no extra cost to you.-
🎬 Introduction: Why Live Streaming Still Works in 2025
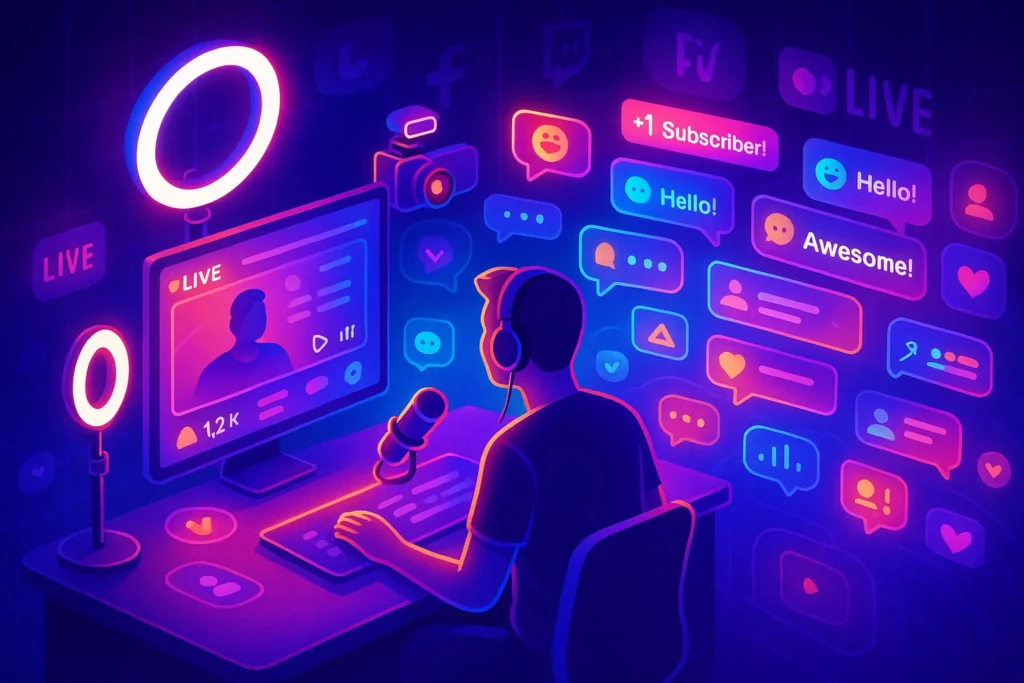
While short-form video continues to dominate social feeds, live streaming remains unmatched for real-time engagement. It creates urgency, authenticity, and direct interaction—making it a powerful tool for creators, brands, and educators.
Whether you’re launching a product, hosting a Q&A, or teaching a live workshop, streaming helps build trust at scale. In 2025, with better tools and higher expectations, success depends on how you structure, promote, and perform your live sessions.
This guide will walk you through the basics of live streaming—from choosing the right platform and gear to crafting content that keeps viewers watching and participating.
🧱 Choosing the Right Platform (YouTube Live, Twitch, or Facebook Live?)
Selecting the right live streaming platform is about more than just where your audience hangs out—it’s about how they interact. For instance, Twitch users expect high chat activity and streamer-audience banter, while YouTube viewers may prefer structured content or tutorial-based sessions. Facebook Live tends to work well when you already have a community or group to engage with.
A smart strategy is to build depth on one platform while occasionally syndicating short clips or announcements to others. For example, use YouTube Live as your main content hub, and then cross-post snippets on TikTok or Instagram Reels to drive traffic back to your replays.
Also, consider time zones, notification algorithms, and mobile interface differences across platforms. A stream that performs well on YouTube might flop on Facebook simply because your audience didn’t get notified in time.
If you’re just starting out, go with the platform you consume content on most—chances are, you’ll already understand its vibe and expectations.
Different platforms cater to different audiences and formats. Here’s how they compare:
-
YouTube Live: Best for educational content, webinars, and search discoverability. Integrates well with evergreen content.
-
Twitch: Ideal for gaming, reactions, and long-form commentary. Built around chat culture and subscriptions.
-
Facebook Live: Great for community-driven events and local businesses. Has high organic reach in specific niches.
If discoverability is a priority, optimizing your YouTube SEO can increase exposure for your live replays, which often get recommended days or weeks after the event.
Nerd Tip: Don’t stream everywhere at once. Focus on the platform where your ideal viewer is most likely to engage, then repurpose later.
🎥 Gear and Tech Setup for a Smooth Stream
In live streaming, poor audio can kill engagement faster than poor video. Viewers are more tolerant of slightly blurry visuals than they are of crackling or echo-heavy sound. So if you’re investing in only one thing to start with, make it a good microphone.
Also, think about background and framing. A cluttered or chaotic environment distracts and may reduce viewer trust. Even a simple, clean background or a branded overlay using tools like Canva Live Templates can instantly upgrade your on-screen credibility.
For mobile streaming, use vertical orientation for platforms like TikTok Live and Instagram, but horizontal framing is standard for YouTube and Facebook. OBS or Streamlabs lets you switch scenes, add overlays, and display alerts—perfect if you’re building a professional presence.
Remember: tech shouldn’t intimidate you. Set a base level of quality and iterate over time. Viewers care more about clarity, energy, and value than cinematic perfection.
You don’t need a $10K studio setup—but quality matters. The essentials:
-
Camera: Use your phone (with a tripod) or upgrade to a mirrorless camera with a capture card.
-
Microphone: External mics like the Blue Yeti or Rode NT-USB vastly outperform built-in audio.
-
Lighting: A simple ring light or two-point LED setup enhances visual clarity.
-
Internet: Minimum 10 Mbps upload speed. Use Ethernet if possible.
Tools like OBS Studio, StreamYard, or Ecamm Live let you manage overlays, split screens, and scenes.
Want polished visuals post-livestream? Our guide to Best AI Video Editing Tools helps you clean up your recording for future use—perfect for turning lives into evergreen tutorials.
📈 Free Livestream Retention Toolkit
Want more viewers to stick around during your livestreams? Get our PDF guide with 5 psychological upgrades that instantly boost watch time and chat activity.
- ✔ 5 Proven Viewer Retention Tactics
- ✔ Practical Examples & Bonus Prompts
- ✔ Instant Download + Pro Streaming Tips
🔐 100% privacy. No noise. Just battle-tested video growth tips from NerdChips.
✍️ Plan Your Content—but Leave Room for Flow
The biggest mistake beginners make is either overplanning or underplanning. If you script every word, your livestream feels robotic. If you wing it, it can feel aimless. The sweet spot? Segmented outlines with built-in engagement prompts.
Use bullet-point notes instead of full scripts. Include timestamps like:
-
“00:00 – Welcome and intro”
-
“02:30 – Main topic starts”
-
“12:00 – Live Q&A”
-
“17:00 – Final thoughts + CTA”
This helps you stay on track while remaining conversational. Also, include visual or verbal cues to re-engage viewers every 5–7 minutes, such as “If you just joined…” or “Let me recap quickly…”
It’s also helpful to rehearse transitions between segments, so you maintain flow even during lulls. Think of these transitions like “chapter markers” in storytelling—they keep the experience cohesive.
A good livestream blends structure with spontaneity. You want to have a clear game plan, but also allow space for natural interaction.
Try this simple format:
-
Hook (first 1–2 minutes) – Greet audience, say what’s coming.
-
Value Segment – Deliver your main lesson/demo/discussion.
-
Engagement Checkpoints – Ask questions, run polls, shout out viewers.
-
CTA + Q&A – End with a strong call-to-action and invite live questions.
If you struggle with scripting or confidence, Best AI Writing Assistants for YouTube Scripts can help you craft intro hooks, segment transitions, and closing lines in your tone.
Bonus: Prepare a few “fallback prompts” (e.g., “Let me know where you’re watching from” or “What’s your biggest challenge with X?”) for moments when engagement dips.
🤝 Real-Time Engagement Strategies That Actually Work
The secret to engagement isn’t just asking questions—it’s asking the right questions at the right time. Early in the stream, use low-friction prompts like “Where are you tuning in from?” or “What’s your favorite tool for X?” These are easy to answer and get the chat moving.
Once momentum builds, shift to value-driven prompts:
-
“What’s one challenge you’re facing with [topic]?”
-
“Do you agree/disagree with this tip? Why?”
-
“Who’s tried this tactic before? Drop a ✅ if yes.”
Use the platform’s native features too:
-
YouTube’s “Live Polls”
-
Twitch’s emote-based responses
-
Facebook’s reactions or comments pinning
Also, try a “name drop loop.” Every time you mention a viewer by name, others feel more inclined to join the chat. You can even use engagement to trigger micro-rewards like bonus tips or free downloads during the stream.
Most importantly, acknowledge silence with grace. If no one responds to a question, pivot with something like:
“That’s totally okay—maybe you’re thinking it over. Let me share what I’ve seen others do…”
This keeps momentum flowing without awkwardness.
The magic of live video is that your audience can shape the experience. But only if you invite them in. Use these tactics:
-
Ask for responses early (“Drop a 💬 if you’re here live!”)
-
Use names when responding to comments—it increases retention
-
Introduce “first-time viewer” shoutouts
-
Run a live poll or challenge during the stream
-
Pin top comments or viewer questions on screen (using StreamYard or OBS)
Live engagement doesn’t just increase watch time—it also triggers platform algorithms to amplify your visibility. Whether you’re on YouTube or Facebook, active chat is a key discovery signal.
If you’re debating whether to commit to live or stick to recorded content, see our full breakdown: Video vs. Blogging—including SEO, engagement, and repurposing comparisons.
✅ Livestream Launch Checklist: What to Prepare Before You Hit “Go Live”
Want to reduce stress, avoid technical hiccups, and show up confidently on camera? Use this pre-stream checklist to make sure you’re fully prepped for a smooth and engaging live session:
⚙️ Tech & Environment
-
🔲 Run an internet speed test (aim for at least 10 Mbps upload)
-
🔲 Plug into Ethernet instead of relying on Wi-Fi
-
🔲 Set up lighting and check shadows on your face/background
-
🔲 Adjust camera framing and test resolution + autofocus
-
🔲 Use an external mic and do a quick sound check
-
🔲 Close background apps that might steal bandwidth or CPU
🧠 Content Prep
-
🔲 Create a 3-part outline: Hook → Value → CTA
-
🔲 Write 3–5 engagement prompts (questions or polls)
-
🔲 Prepare a 30-second elevator pitch (who you are, what this is)
-
🔲 Have 1–2 short stories or analogies ready to use mid-stream
-
🔲 Set up any slides, screen shares, or overlays beforehand
🎯 Conversion & Retention
-
🔲 Define a clear CTA for the end of the stream
-
🔲 Add a “Live Only” bonus or surprise offer
-
🔲 Schedule the next stream before you end this one
-
🔲 Decide where and how you’ll repurpose the replay
You can even print this checklist and tape it to your wall—so every stream becomes smoother, sharper, and more effective than the last.
Want this checklist as a printable PDF? Drop a comment and we might add it as a freebie soon.
🔁 Repurposing Your Live Stream for Evergreen Impact
Think of every livestream as the raw material for dozens of future content pieces. With a single session, you can generate:
-
🔹 YouTube Shorts from key takeaways
-
🔹 Quote graphics from insightful comments
-
🔹 Email newsletters recapping your session
-
🔹 Webinars or mini-courses based on recurring questions
To systematize this, create a simple post-livestream checklist:
-
Download and trim the replay
-
Create a 30–60s teaser for social media
-
Add timestamps and chapters to the YouTube version
-
Pull audio for podcast (if relevant)
-
Use ChatGPT or Descript to auto-transcribe and summarize content
These steps multiply your livestream’s ROI, helping you maintain visibility long after you go offline. Plus, the Q&A segments often reveal exactly what your audience wants next—perfect for ideating future content.
Don’t let your livestream die after the last viewer logs off. Here’s how to get more mileage:
-
Clip key moments into Shorts, Reels, or TikToks
-
Turn Q&A segments into blog posts or carousel posts
-
Upload full replays with SEO-optimized titles and thumbnails
-
Create an auto-responder email linking to your top replay
-
Transcribe the audio and convert it into a script for future edited content
To speed up post-production, tools like Descript, Opus Clip, or Runway can cut highlights and repackage your content. For full automation workflows, check out How to Automate YouTube Video Editing.
❓ FAQ: Nerds Ask, We Answer
🧠 Nerd Verdict
Live streaming is still one of the highest-ROI formats in digital content. It builds trust, urgency, and community in a way no other format can match.
With the right tools, structure, and post-stream workflow, your live content can work for you long after the cameras stop rolling.
It’s not just about showing up live—it’s about showing up strategically.
💬 Would You Bite?
What’s holding you back from hitting “Go Live”?
Drop your hesitation (or goal!) in the comments—we might just help you push through it. 👇