Intro – 💬 Why Wi-Fi Performance on Windows 11 Can Be Tricky
Slow Wi-Fi on a Windows 11 PC can feel like a productivity killer — or worse, a gaming nightmare. Whether you’re trying to stream a 4K movie, join a video meeting, or simply browse without interruptions, sluggish speeds can bring everything to a halt. While poor Wi-Fi isn’t always the PC’s fault, Windows 11’s network settings, drivers, and power management can all contribute to the problem.
This guide walks you through a structured, step-by-step approach to fixing slow Wi-Fi on Windows 11. We’ll start with quick fixes and move toward advanced optimizations, making sure you not only solve the issue but also future-proof your connection.
📌 Quick note: If your Wi-Fi issues are happening across multiple devices, check our in-depth guide on Boost Your Wi-Fi Speed and Coverage at Home to rule out router-related problems before spending hours tweaking Windows.
🛠 Step 1 – Run the Basics Before Going Deep
Before diving into advanced Windows 11 settings, start with simple steps that often resolve the problem without much effort. Restarting your router, toggling airplane mode, or reconnecting to your Wi-Fi can refresh your connection.
First quick checks to run:
-
Restart your router/modem to reset network configurations.
-
Restart your PC to clear temporary networking glitches.
-
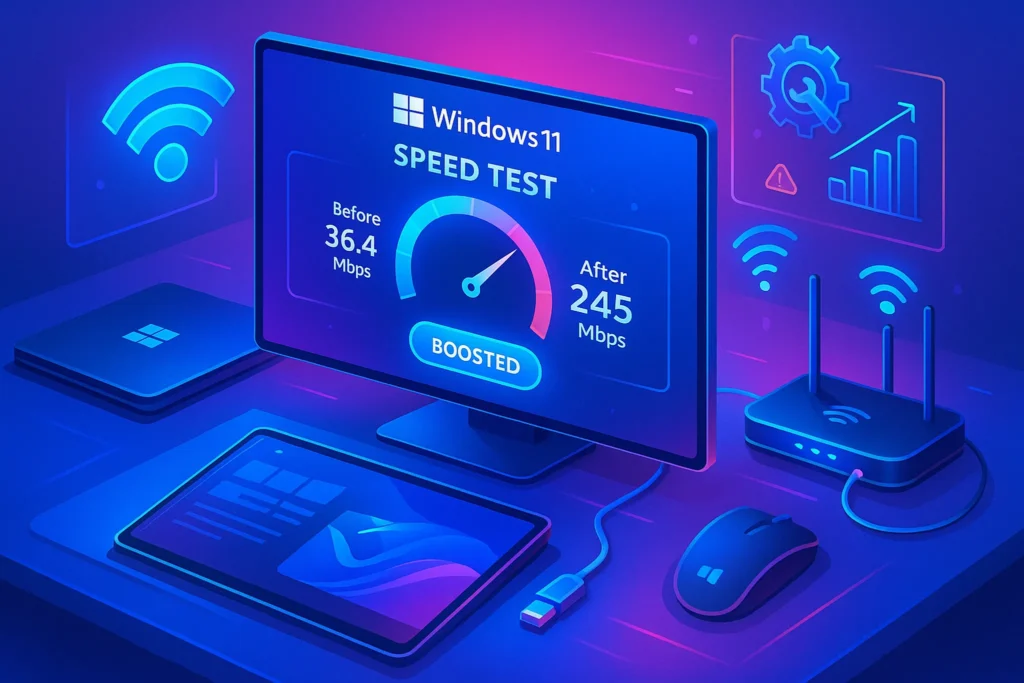
Test your speed using a service like Speedtest.net to get a baseline.
💡 Sometimes, a simple restart is all it takes. Don’t skip the basics before you go technical.
If your baseline speed is significantly lower than your plan’s advertised rate, note it down — it will help you measure improvement later. If the problem persists, move to Windows-specific fixes.
🧠 Step 2 – Update Your Network Drivers & Settings
Outdated or corrupted network drivers are one of the most common culprits behind slow Wi-Fi speeds in Windows 11. Microsoft includes a lot of built-in drivers, but your hardware manufacturer often releases optimized versions that can significantly improve stability and speed.
Here’s how to update your drivers:
-
Press Windows + X → Select Device Manager.
-
Expand Network adapters.
-
Right-click your Wi-Fi adapter → Select Update driver.
-
Choose Search automatically for drivers.
-
If nothing updates, visit your manufacturer’s website (Intel, Realtek, Qualcomm) and download the latest driver manually.
✅ Nerd Tip: For Intel adapters, the Intel Driver & Support Assistant is much faster than manual searching and ensures you’re always up to date.
📌 While you’re here, also check your Wi-Fi adapter settings:
-
Go to Device Manager → Wi-Fi adapter → Properties → Advanced.
-
Set Preferred Band to 5 GHz if your router supports it.
-
Enable features like 802.11ax (Wi-Fi 6) if available.
If you’re unsure whether your Wi-Fi hardware supports newer standards, check our Best Gaming Accessories for Hardcore Gamers post — it also covers Wi-Fi cards and dongles optimized for low latency gaming.
⚡ Step 3 – Disable Power-Saving Features That Throttle Wi-Fi
Windows 11 sometimes sacrifices network performance to save power, especially on laptops. While this is great for battery life, it can significantly slow down Wi-Fi.
To disable power saving for your adapter:
-
Open Device Manager.
-
Find your Wi-Fi adapter → Properties.
-
Under the Power Management tab, uncheck “Allow the computer to turn off this device to save power”.
Also, adjust your Windows power plan:
-
Press Windows + S, search for Power Plan.
-
Select High Performance or Ultimate Performance (if available).
💡 Think of your Wi-Fi like a race car — it can’t win if it’s running in eco mode.
If you’re on a desktop PC and still getting slow speeds after these tweaks, you might benefit from upgrading your adapter or router. We cover this in detail in DIY Tech Troubleshooting: Pro Tips to Fix Common Issues.
🔄 Step 4 – Reset Your Network Stack in Windows 11
If tweaks haven’t solved the issue, it’s time to refresh the network stack. This clears corrupted configurations and forces Windows to reinitialize your adapter.
Option 1: Full Network Reset
-
Settings → Network & Internet → Advanced Network Settings → Network Reset → Restart PC.
Option 2: Command Line Reset (more thorough)
- Open Command Prompt (Admin).
- Run these commands one by one:
🧠 Why this works: Over time, cached network data and settings can conflict, especially after Windows updates or router changes. Resetting forces a clean slate.

